In this article, we will explain how to install a Java Development Kit on Windows.
#1 Step
- Open Google and search for jdk download.
- Open the link to the Oracle website – www.oracle.com.
- As you can see, there are many versions of Java. When you choose a version, look for one that comes with an LTS mark next to it. It means Long Time Support. Such versions are stable and will not be removed shortly. By choosing another version, you risk installing one that will be discontinued in the near future, so you will need to look for a replacement. Although there is no LTS label next to the eighth version, it is stable and will last a very long time, as it is the most popular version.
#2 Step
- Find the version you plan to install and click on JDK Download in the corresponding section.
- Scroll down to the table and find a version compatible with your operating system. In our case, it is Windows x64.
- Click on the Download in a corresponding row. Then, check the privacy checkbox to accept the Agreement and click on Download.
- If you have not signed in on the website yet, you will be redirected to a page with a sign in form. You can also create a new account here if you do not have one yet. The download will start automatically after you sign in.
- If you have signed in earlier, the download to a selected folder will start right after you click on the Download button.
- Then, go to the folder with the downloaded file and run it.
- Select the installation path and complete the installation flow.
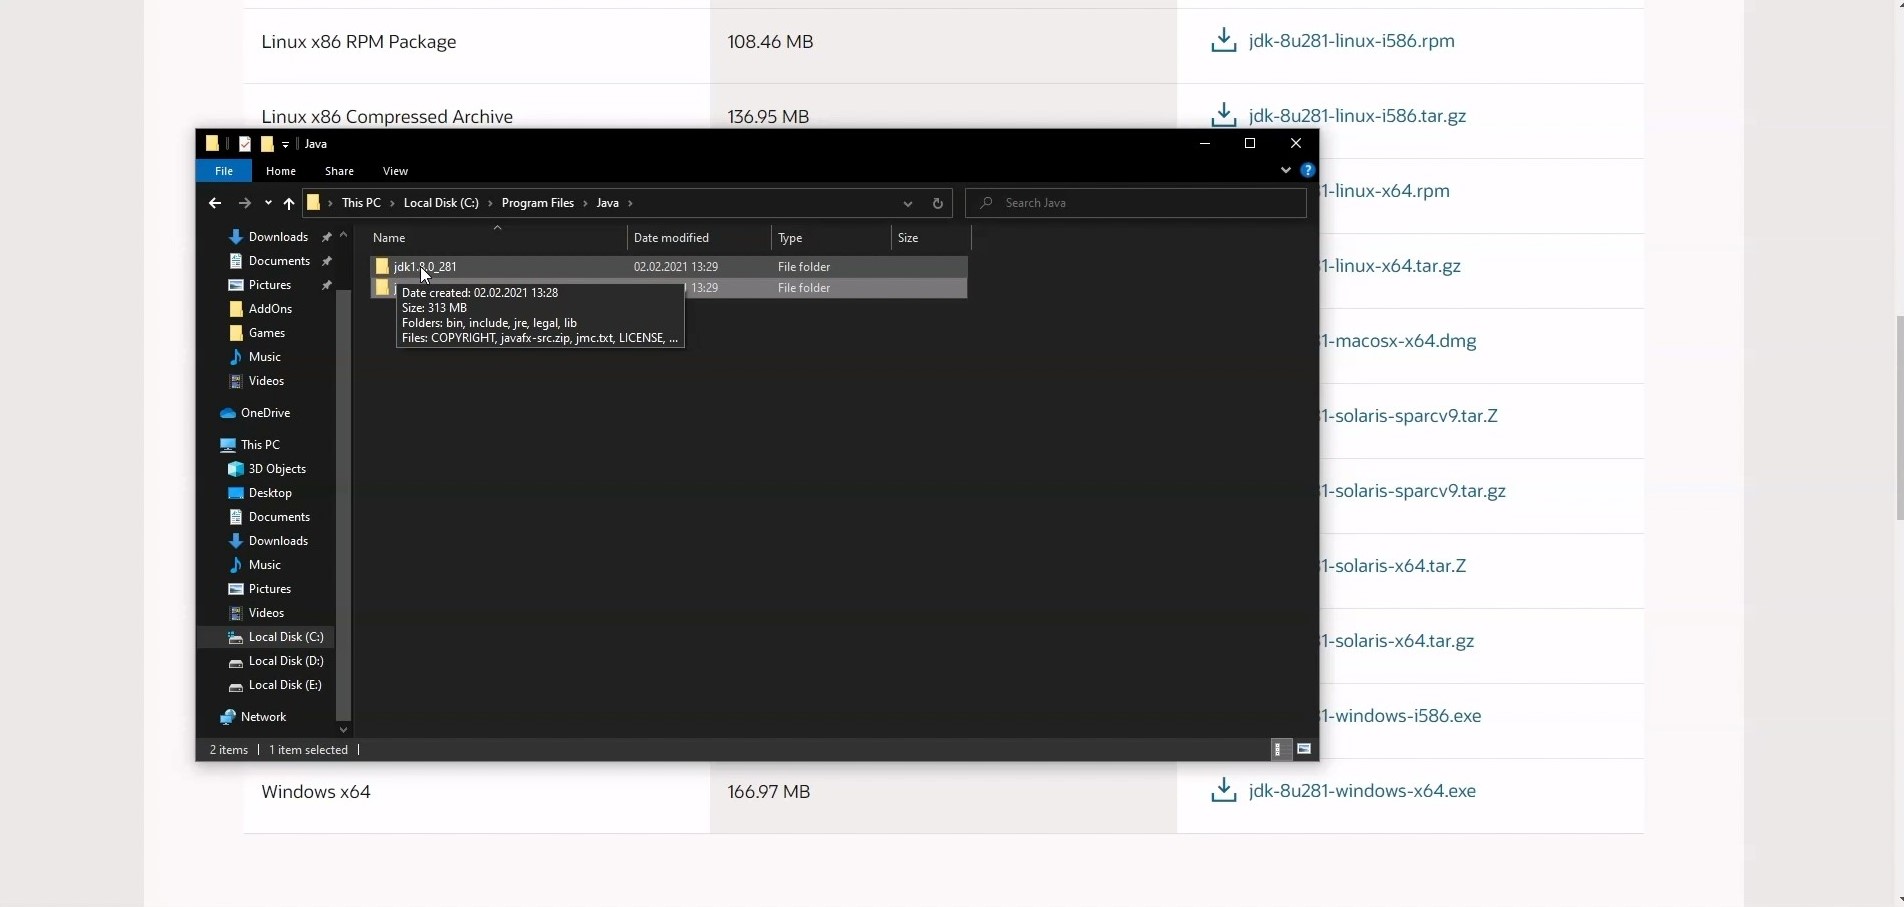
- Then, go to the folder with Java installed. The default path is C:\Program Files\Java. Note that two folders have been created. The name of one starts with jre and the other one with jdk. Open the folder that begins with jdk.
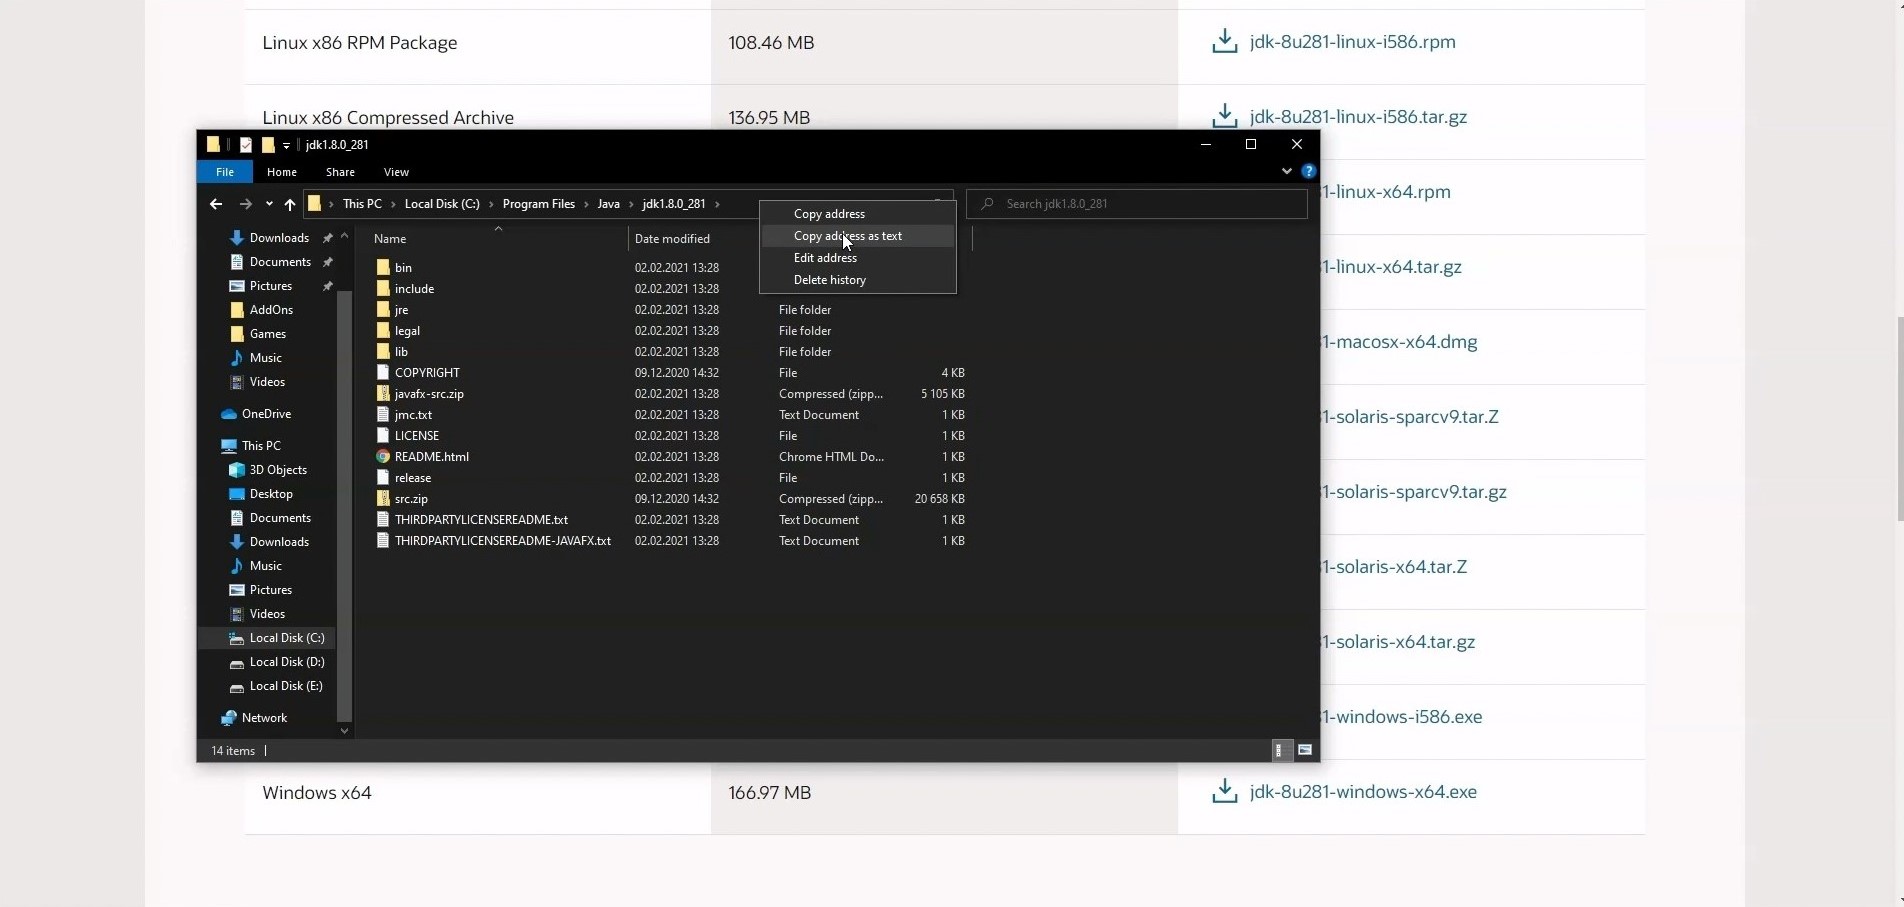
- Copy the folder path to the clipboard. You can do it easily with a right-click on the folder path address bar, selecting Copy address path as text option in the menu.
#3 Step
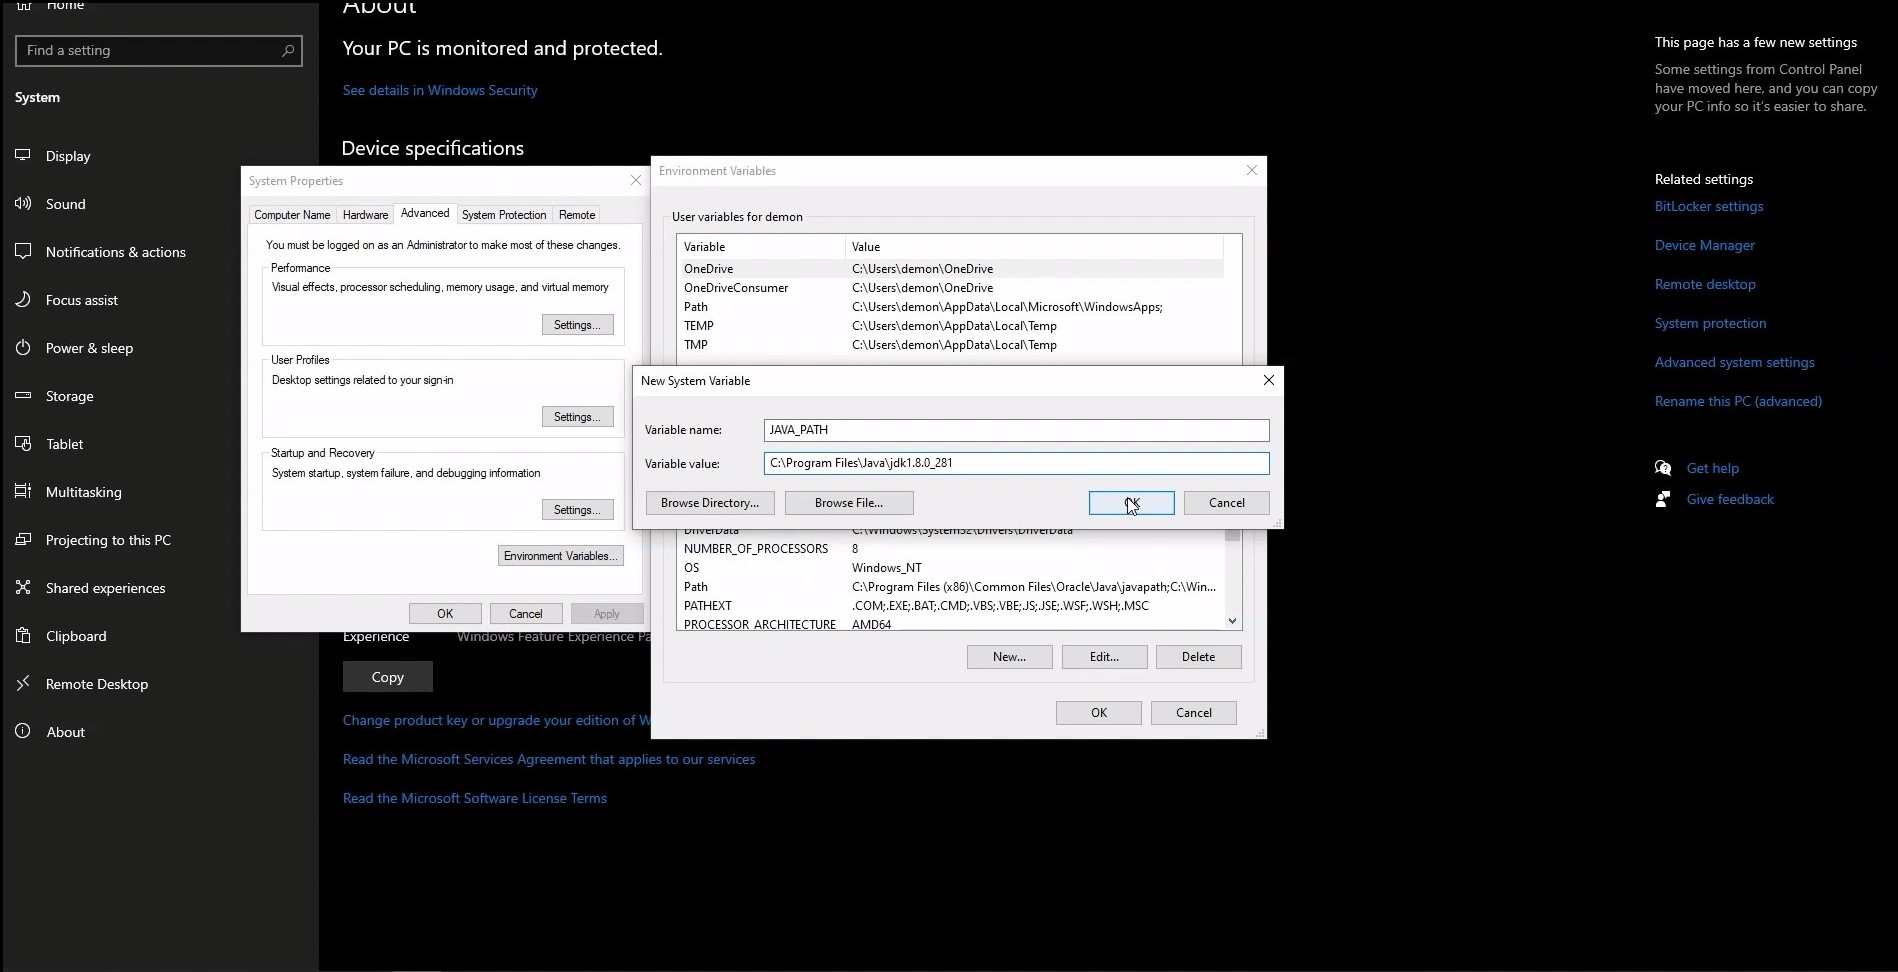
- Then, go to the environment variable settings. For this, right-click on the Windows Start button and select System in the menu. In the window that opens next, click on Advanced System Settings. One more window will open, where you need to click on the Environment Variables.
- Click on New in the System variables section in the new window.
- Enter the Variable name. In a corresponding field, type JAVA_PATH, all characters in a capital case and words divided by an underscore.
- Enter Variable value in a corresponding field by pasting the folder path you’ve copied earlier. Click OK in all the three small windows that opened in System.
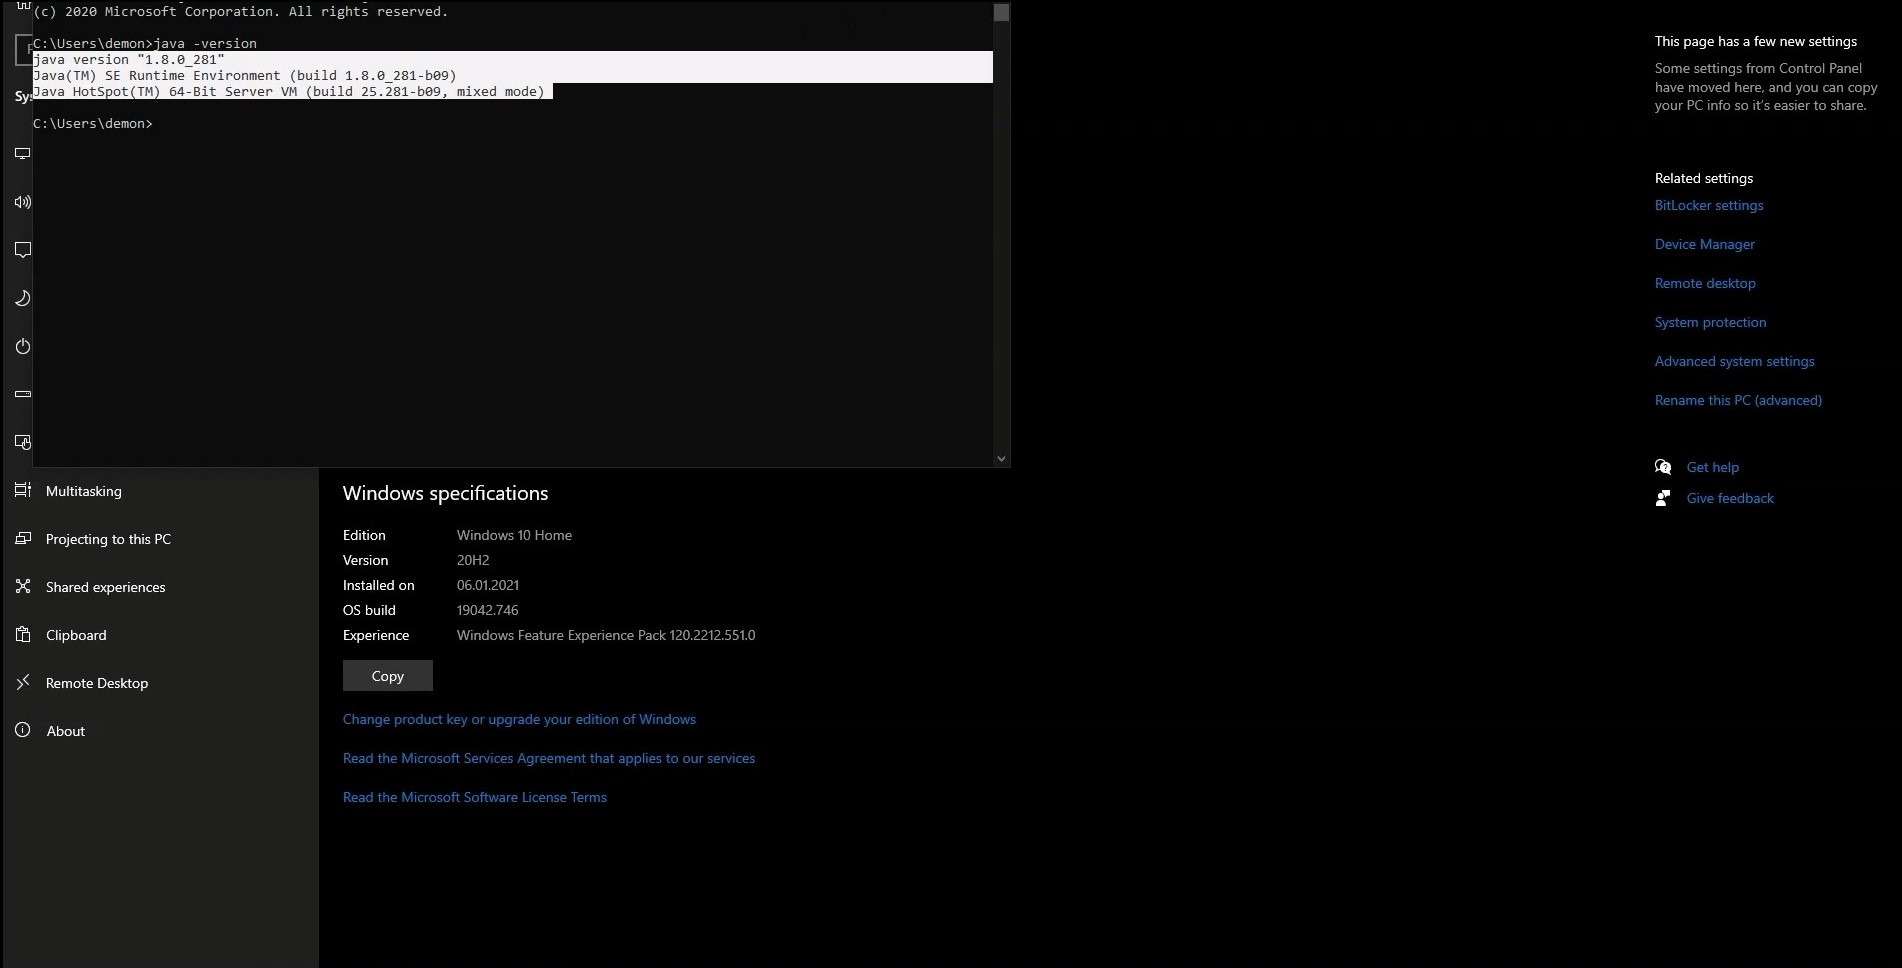
- To verify that the installation was successful, we need to open a command prompt. For this, open the Windows Start menu, type cmd, and press Enter.
- In the command prompt, type java -version and press Enter. If you see version information in the following lines, the installation was successful.